5 Easy Steps to Resolve Your Printer Error Message
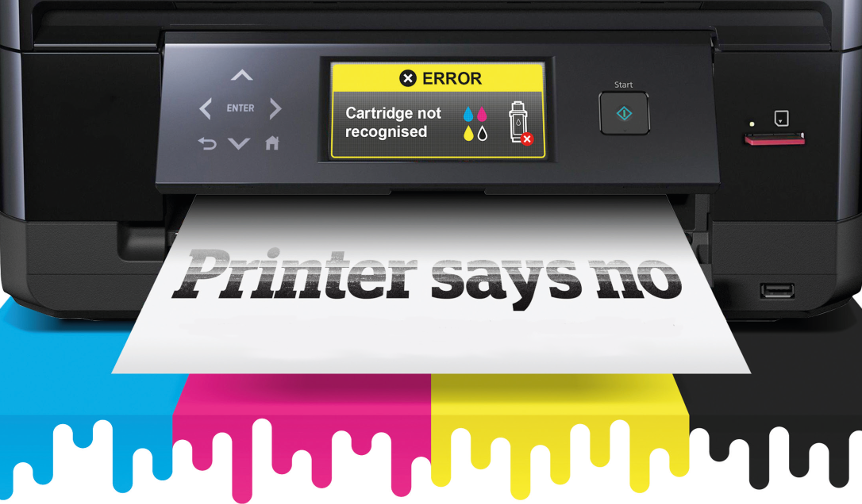
Imagine this scenario. You need to print a deck of power point slides for your boss as soon as possible, ran to the nearest stationary store and bought brand new ink cartridges. Installed the cartridges but lo and behold, a bright red error message and/or light appears. The printer refused to bulge. You are stucked and helpless.
Does this situation sound too familiar? This happens to both originals as well as third party ink cartridges. These are common issues that happen due to unforeseen manufacturing defects and purchasing low-quality cheap ink cartridges. Hence, we have the below 5 simple and quick remedies. These may help to a certain extend but it really depends on the severity of the issue you are faced with.
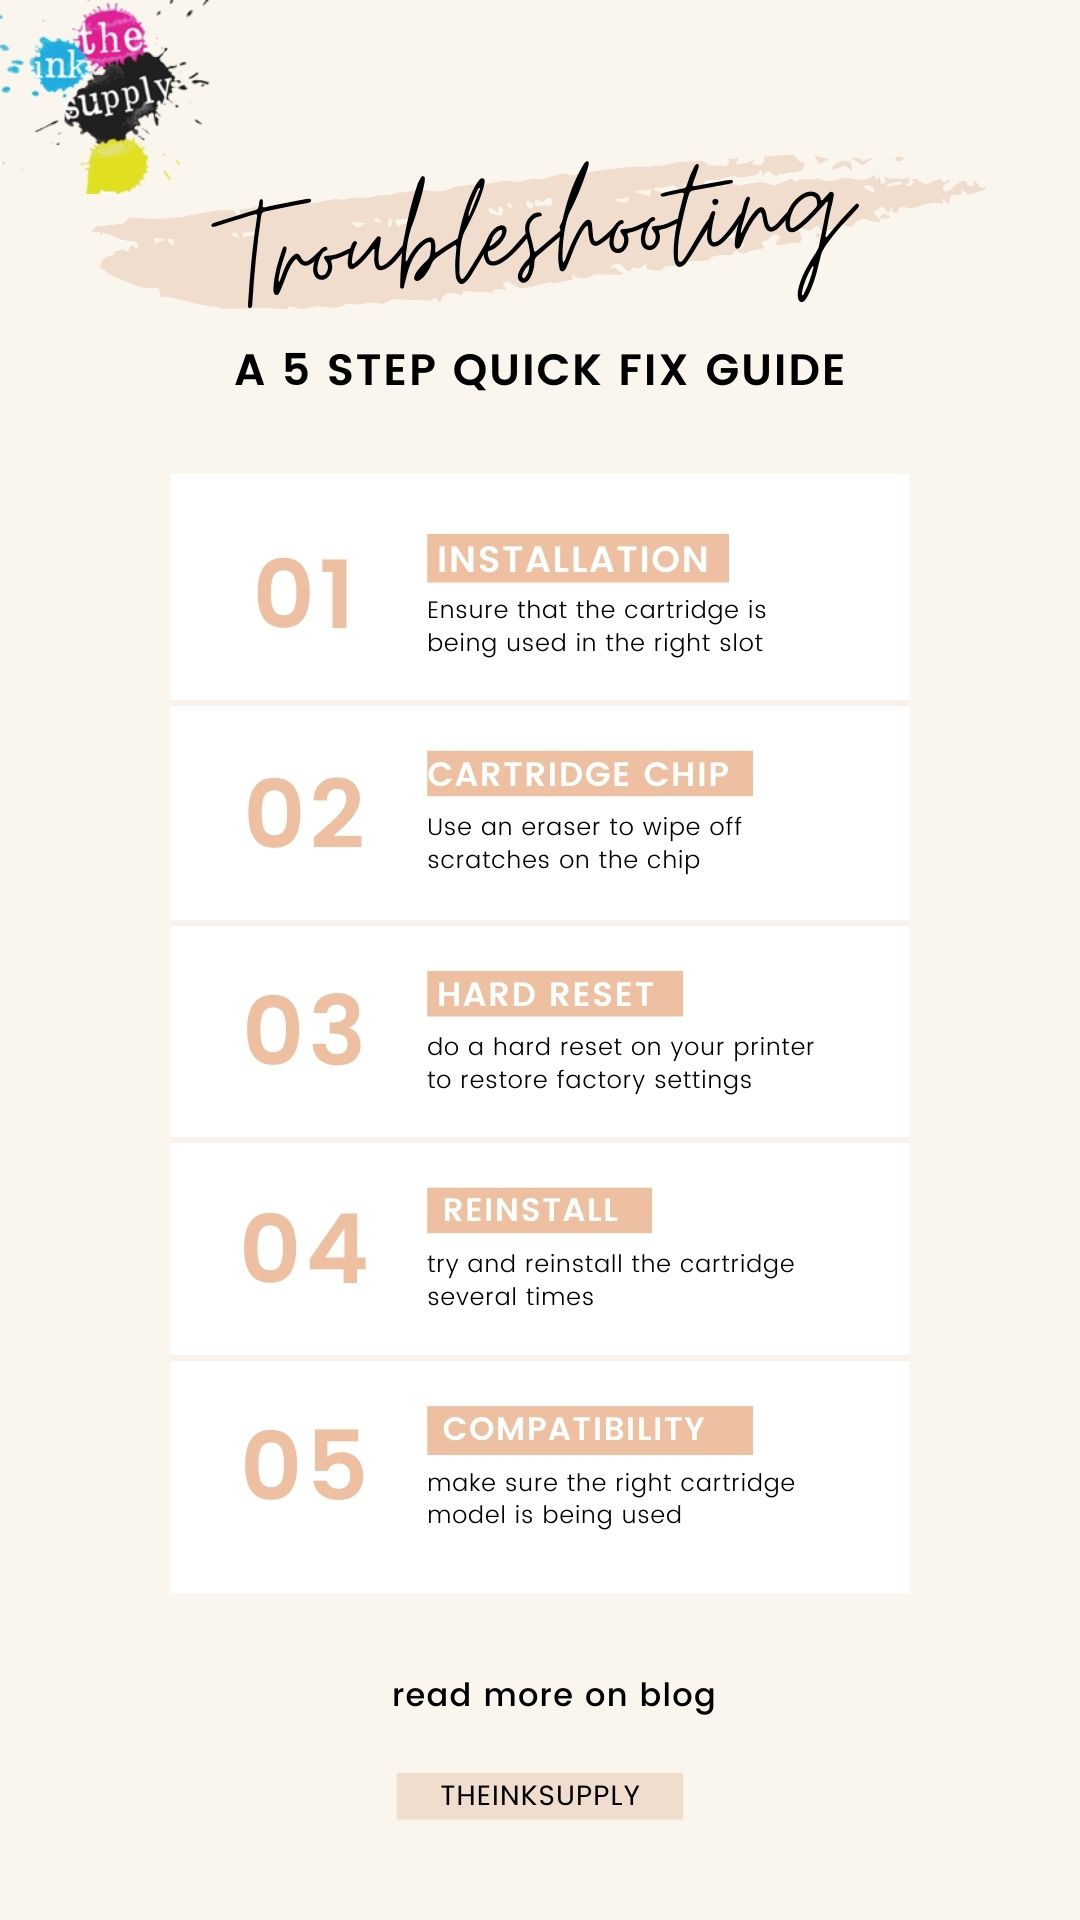
1. Check that the ink cartridge is properly installed
There are several things to check depending on whether you are using originals or compatibles. 1. Cap that is covering the ink ejector hole (ensure that this is removed) 2. A sticker slip covering the air ventilation hole (ensure that it is removed) 3. Upon installation, there should be a “click” sound to signify that the ink cartridge is properly and securely seated and cache inside the cartridge slot. 4. The right cartridge slot is being utilized (i.e magenta should sit in the magenta cartridge slot)
2. Check the cartridge chip
Most or rather all ink cartridges will have an electronic chip. Check that the chip is not scratched or flawed. Use a slight damp cloth or an eraser to clean the chip surface carefully but thoroughly. Let it dry completely if using a damp cloth, then reinstall into the printer. The error message may be resolved. If not, then follow the next step
3. Do a hard reset on your printer
Several error messages are due to firmware update from OEMs. In this case, try a hard reset by following the steps below:
- Remove the ink cartridges from the printer
- While the printer is on, remove the socket from the printer
- Remove the socket from the wall power point
- Let it rest for approximately 5 minutes
- Reconnect the socket and power on the printer
- Reinstall the ink cartridges
Sometimes, this may help to resolve the issue. If it does not, kindly contact us for additional measures to resolve it
4. Reinstall the ink cartridges several times
Sometimes non detection is due to the contacts between the chip and the printer. Hence try to reinstall the ink cartridges several times and ensure that it is securely stowed in the cartridge or toner slot.
5. Check your printer model
We have many customers who are not familiar with printer and ink cartridge models. Check that your ink cartridge model is the right model to use for your printer model. Incompatibility and hence error messages arise due to such issues
Summary
In summary, as the printer issues faced are varied and multi-faceted and sometimes is highly complex, it is always important to buy from an experienced supplier who specializes in printer ink and toner cartridges as we have the tools and experience to promptly resolve them. The above measures are only quick fix which sometimes can work. If they do not and you had purchased your ink cartridges with us, please do not hesitate to contact us and we will get our technical experts to assist you as soon as possible


Recent Comments